GCSE 3D Design · Grade 9
From sketches to tested objects.
Four projects showing how the work changed as the constraints became more real: dimensions, materials, manufacturing processes, print cost and assembly.
01 · Foundation
Measure, draw, make.
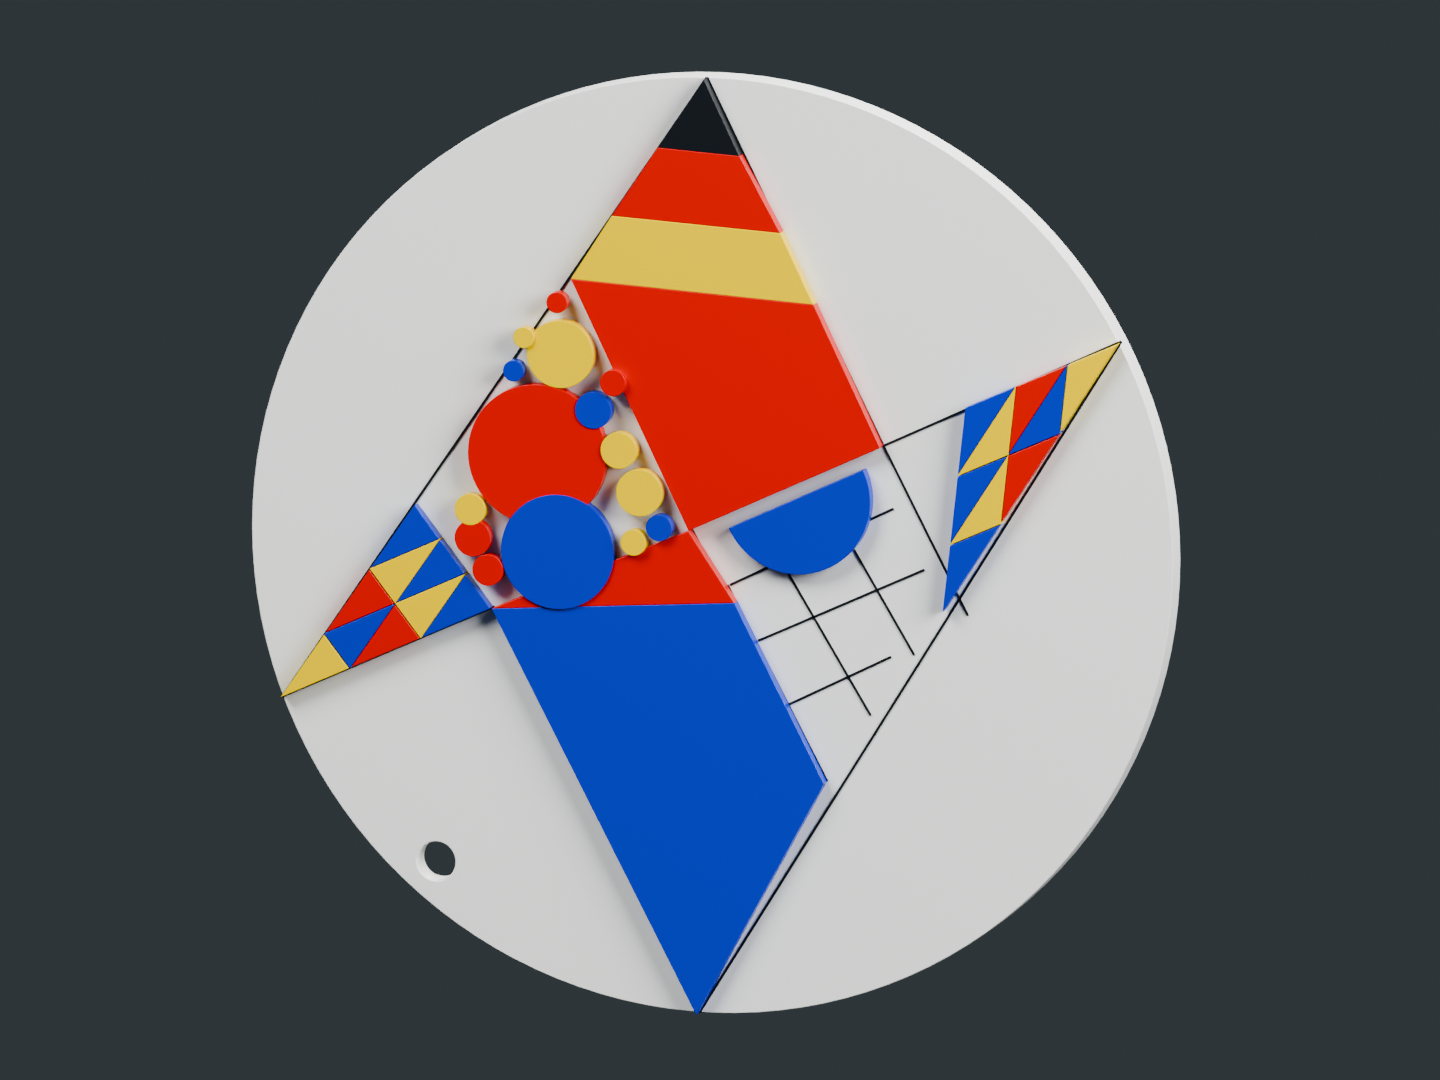
Brief Learn core workshop processes, then design a Bauhaus-influenced keyring for laser manufacture.
Bauhaus research, measured drawings and TechSoft vector work were used to test a keyring design. This remained an experiment; no physical version of the keyring was made.
- Construction-method research and measured drawing.
- Bauhaus visual research translated through shape extraction.
- Material thickness and joint geometry treated as design constraints.
02 · Fantasy Light → Cyberset
Originality became a design decision.
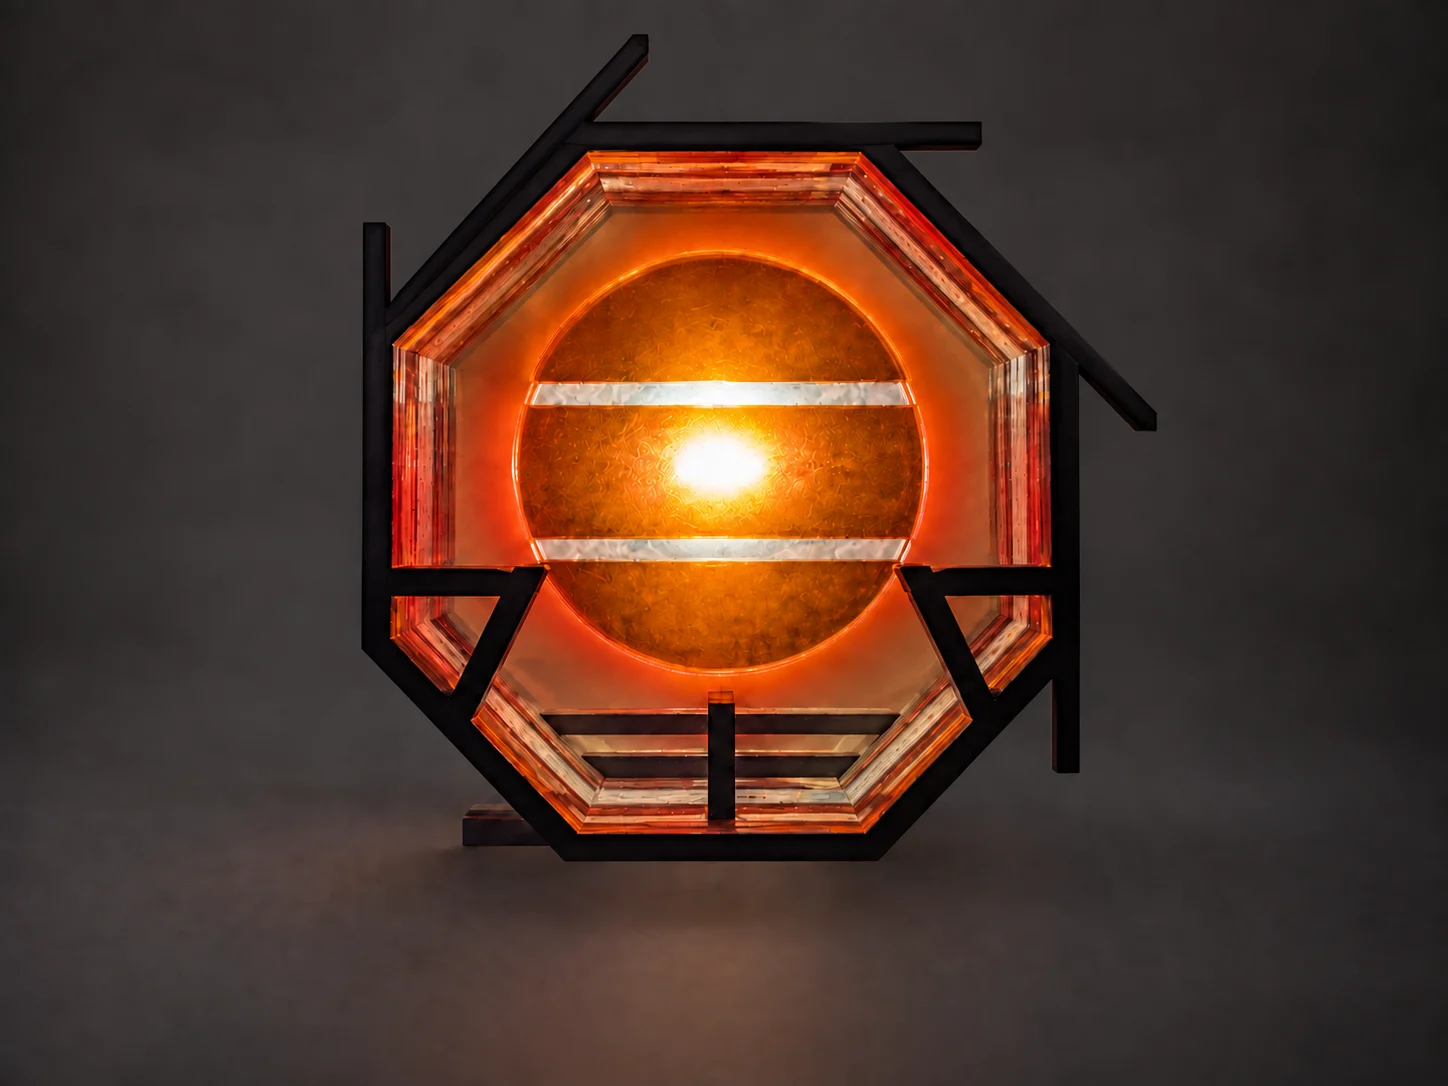
Brief Design and make a light around the theme of fantasy for a defined user and setting.
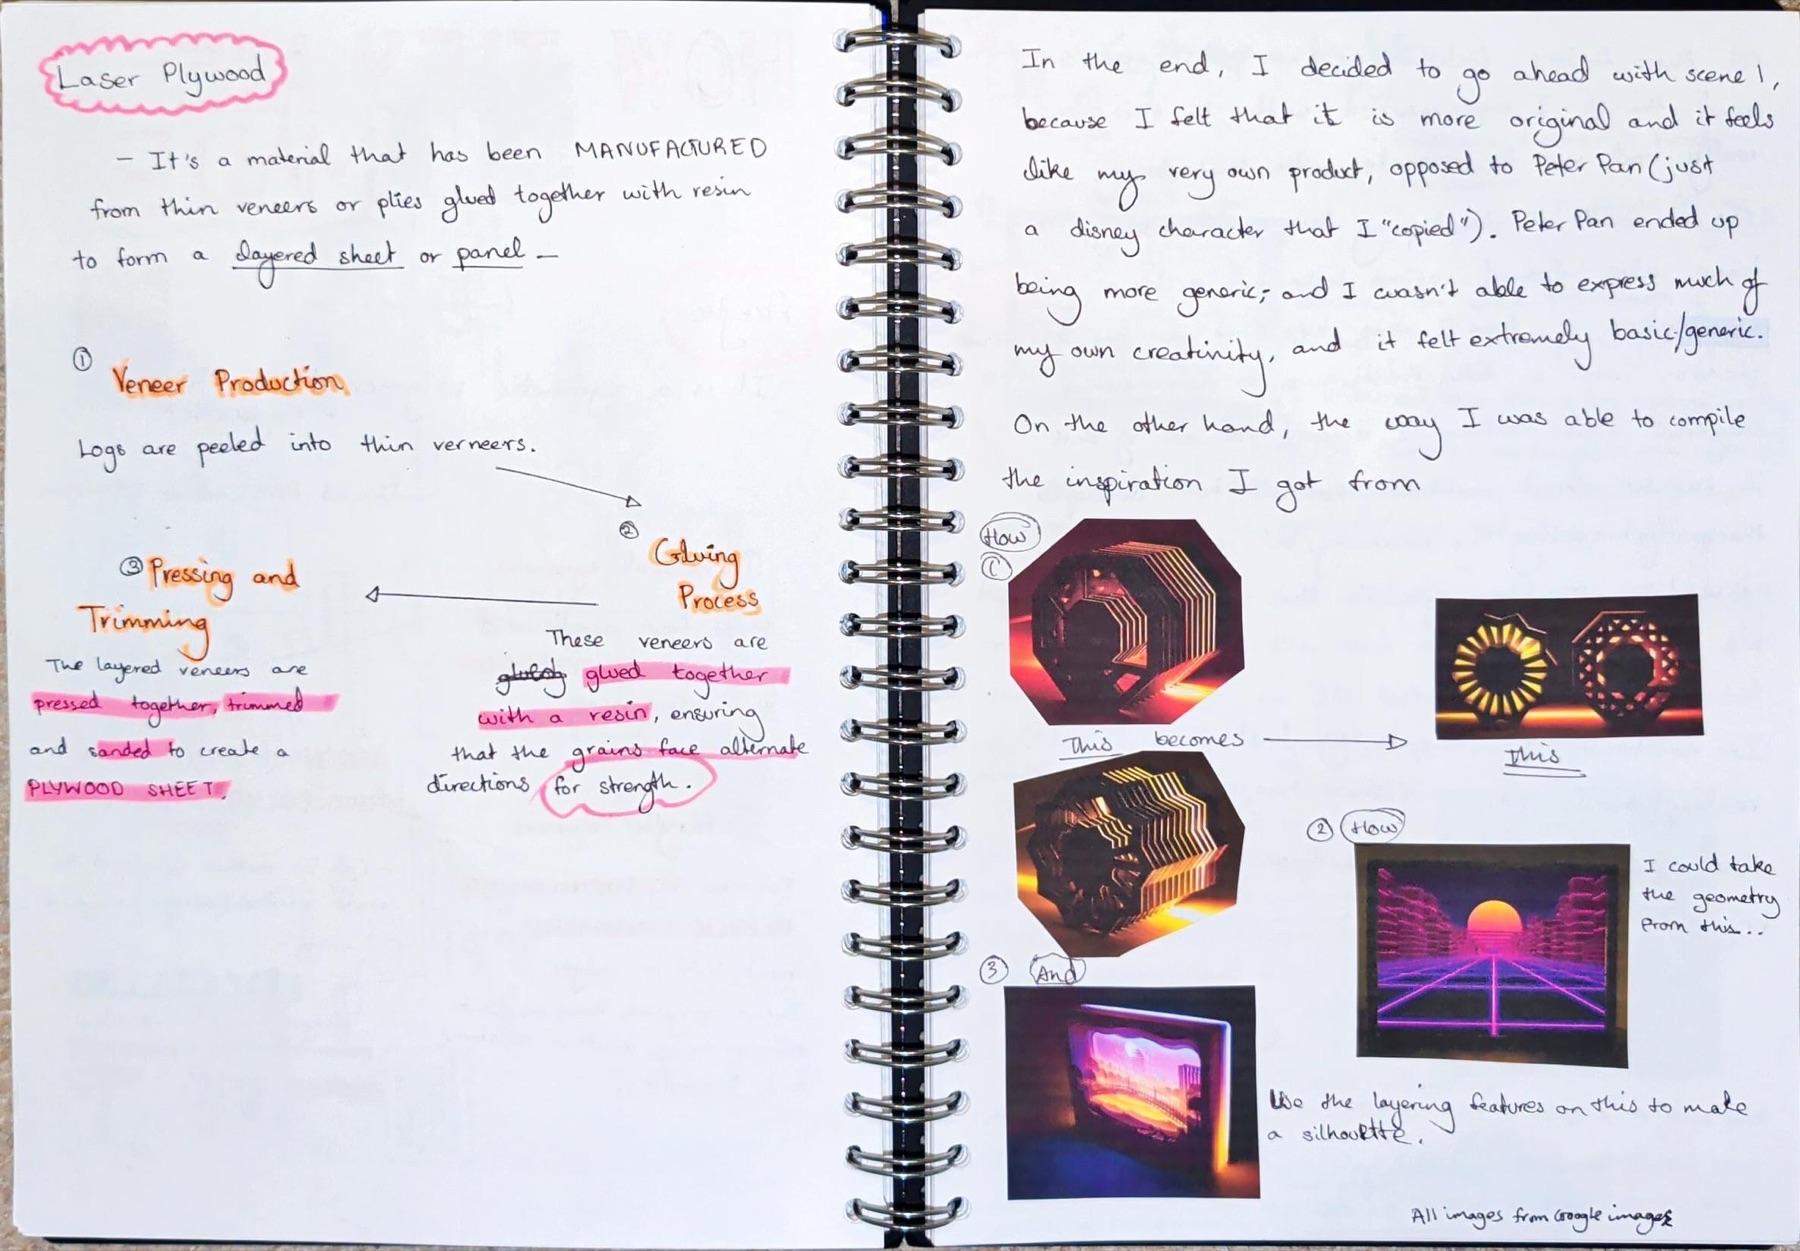
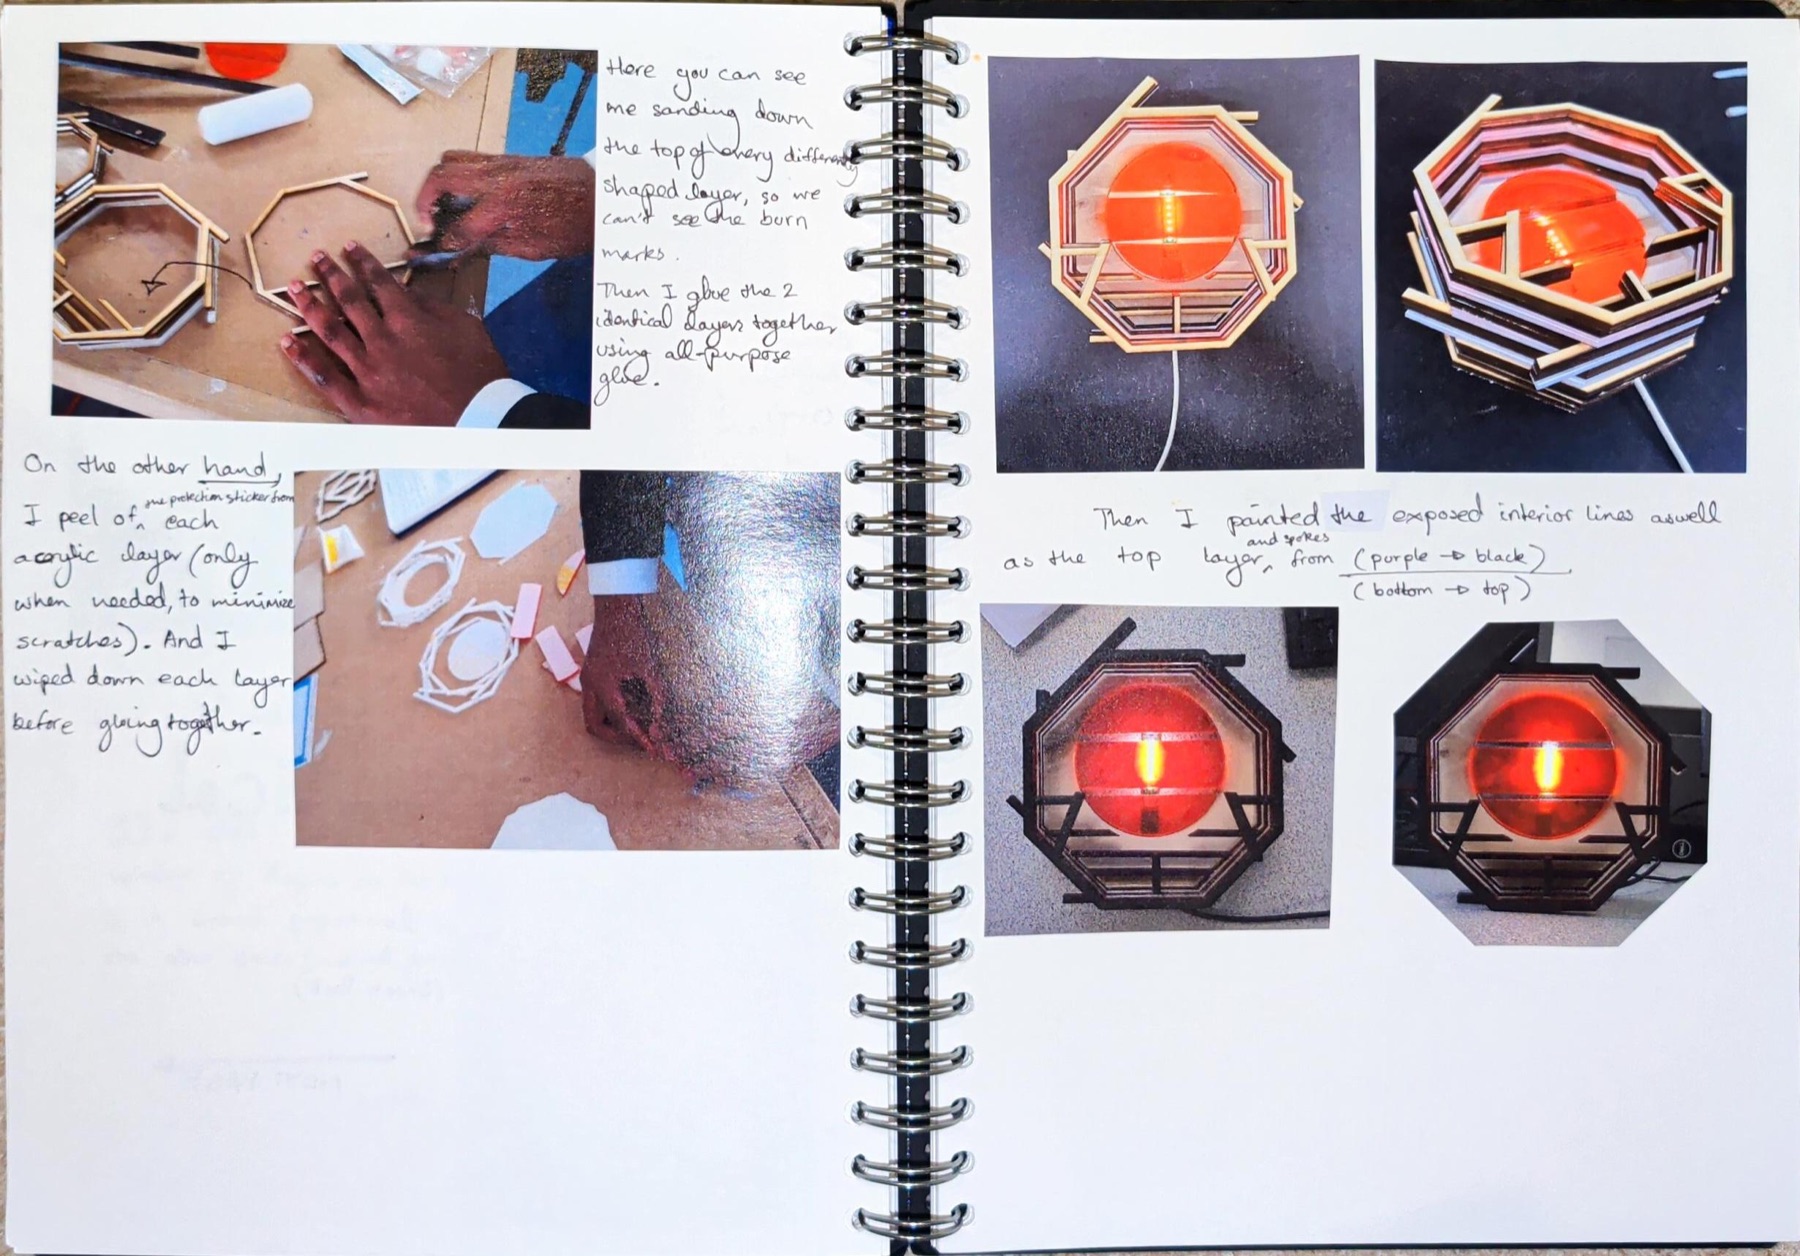
Early routes included a Peter Pan scene. Visual and product research, silhouette studies and five physical revisions led to Cyberset: an original layered cyber-sunset light.
Inspect the TechSoft-led 3D reconstruction ↗
03 · Organic Forms → Mushroom Tissue Stand
The first CAD answer was too expensive.
Brief Respond to “Organic Forms” with a tableware design for an identified target audience.
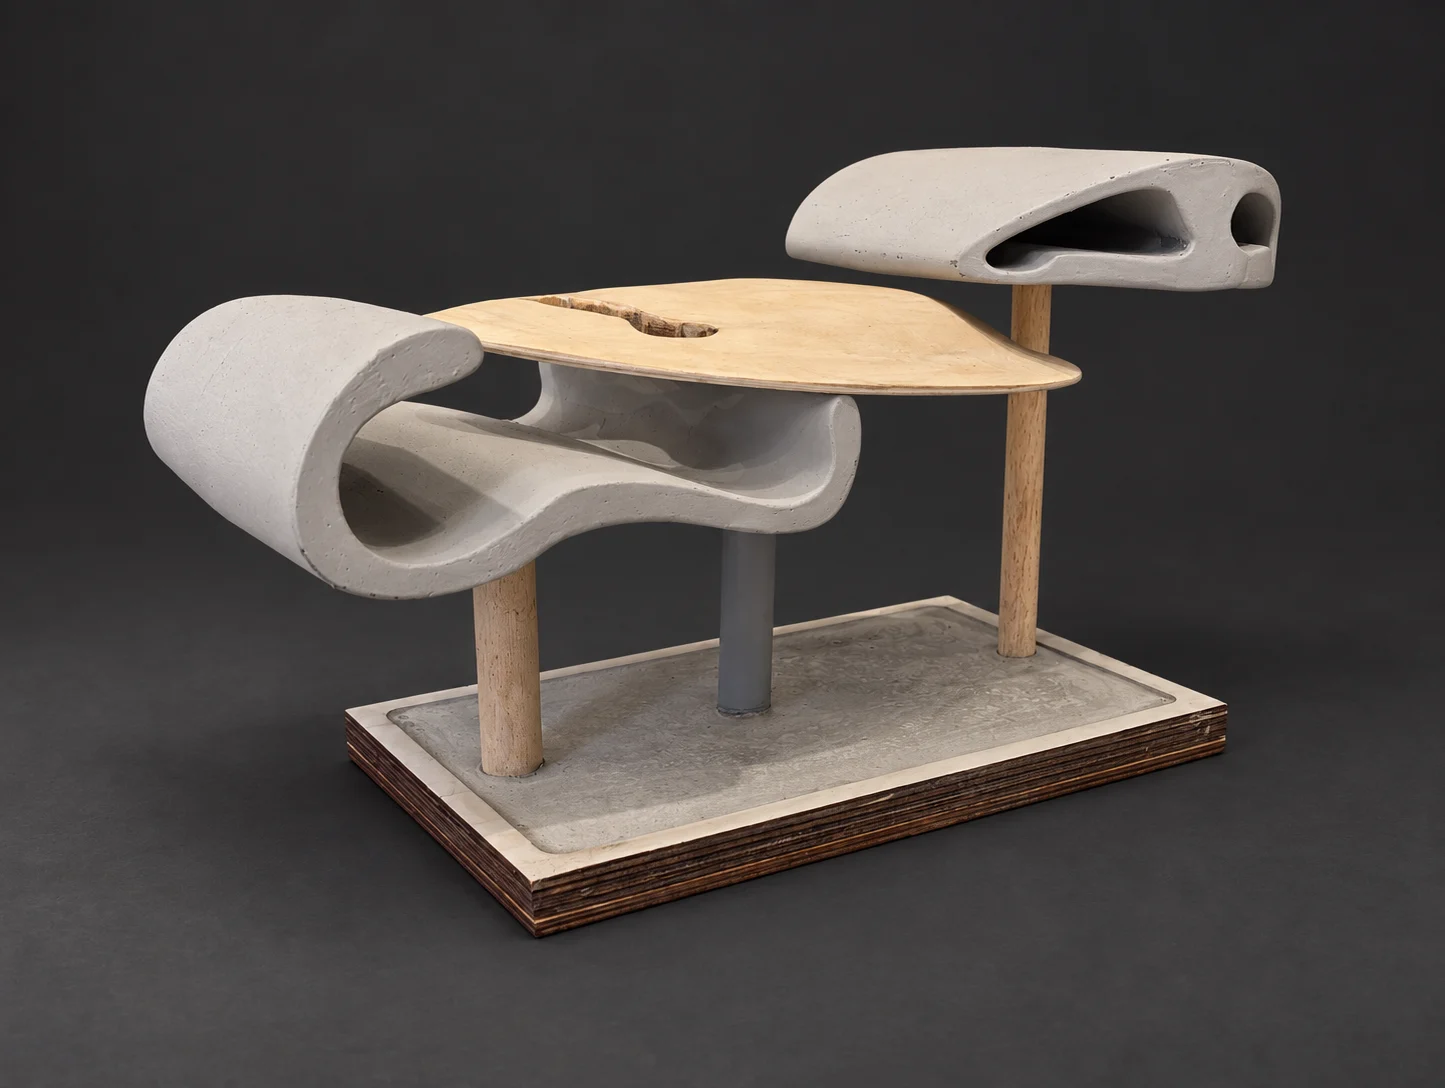
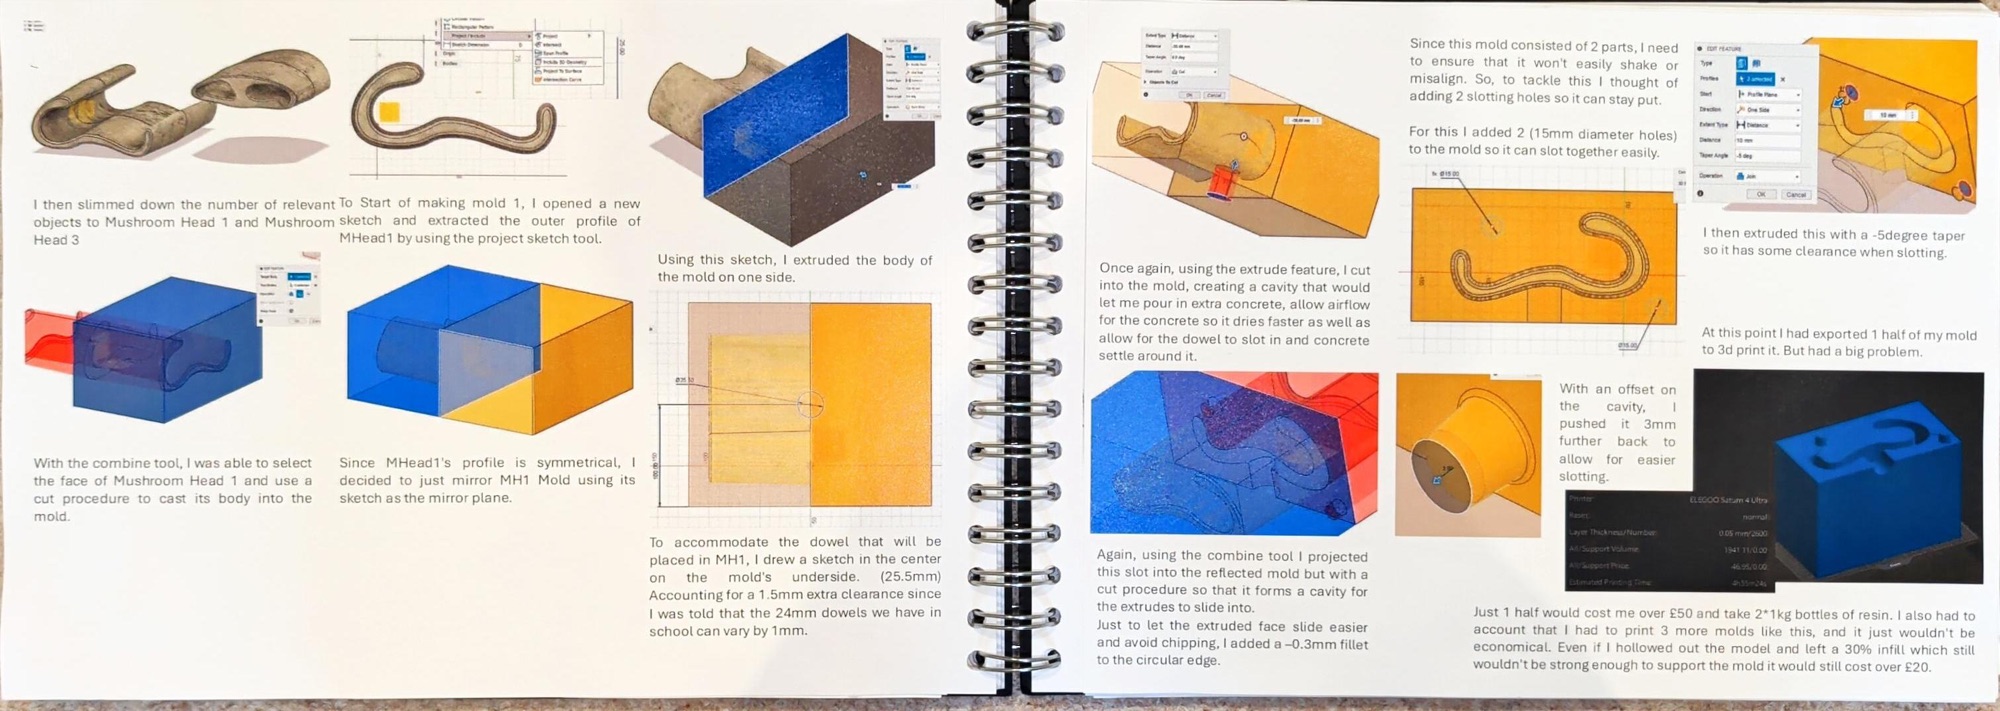
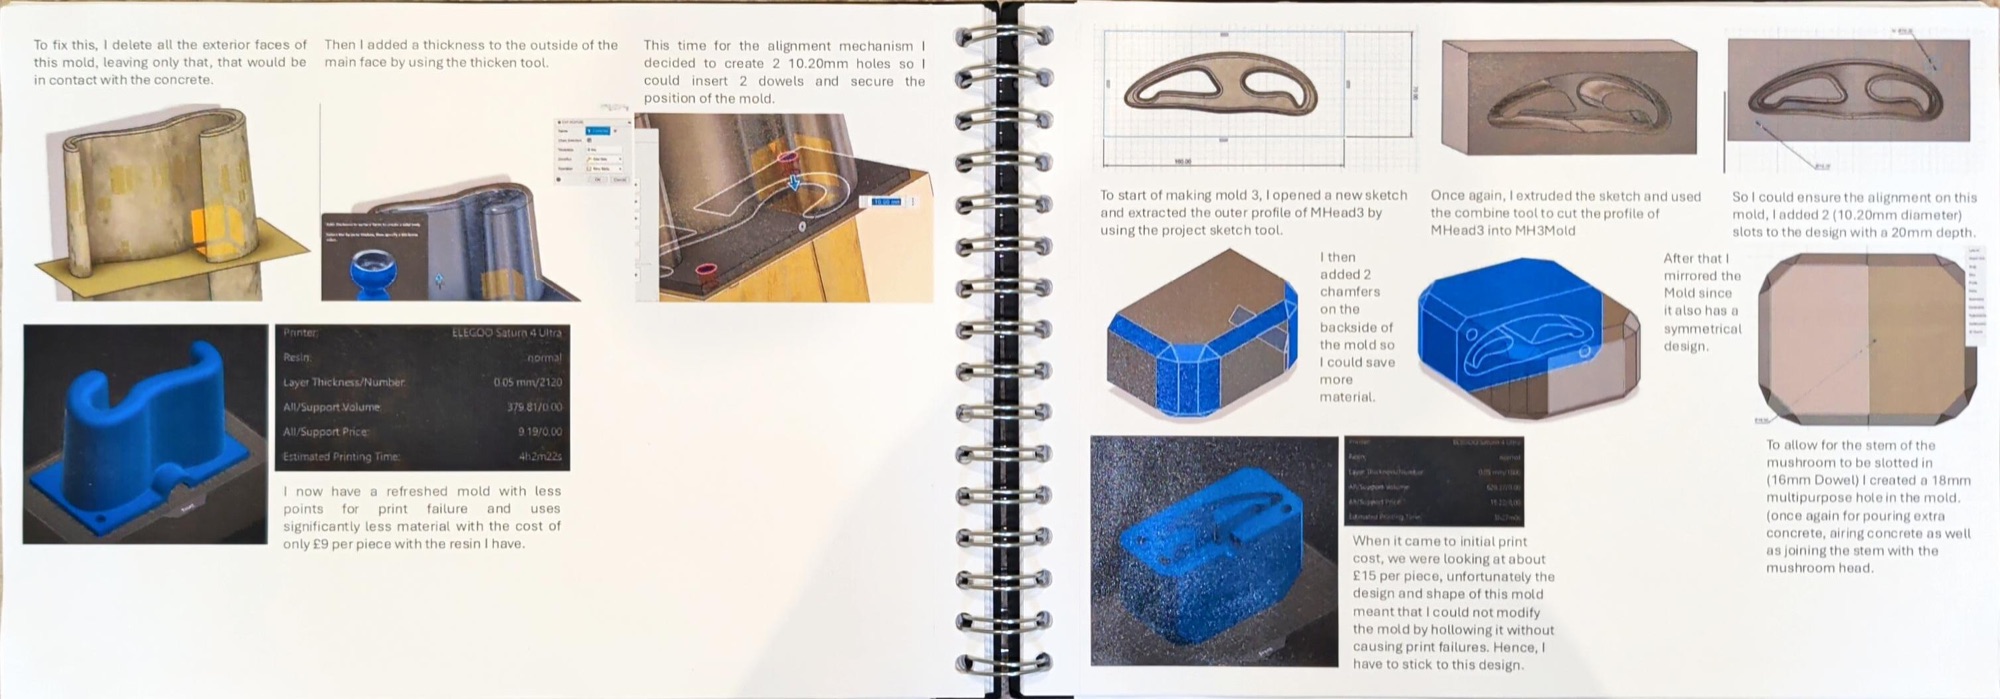
Biomimicry, product and price comparison, user needs and material experiments shaped a tissue, toothpick, salt and pepper stand. A solid mould half was then redesigned from roughly £50 of resin to a printable shell estimated at about £9.
04 · Angles → Light Fixture · externally set assignment
One design across two CAD systems.
Brief Respond to the externally set theme “Angles” and resolve a final outcome during the ten-hour practical exam.
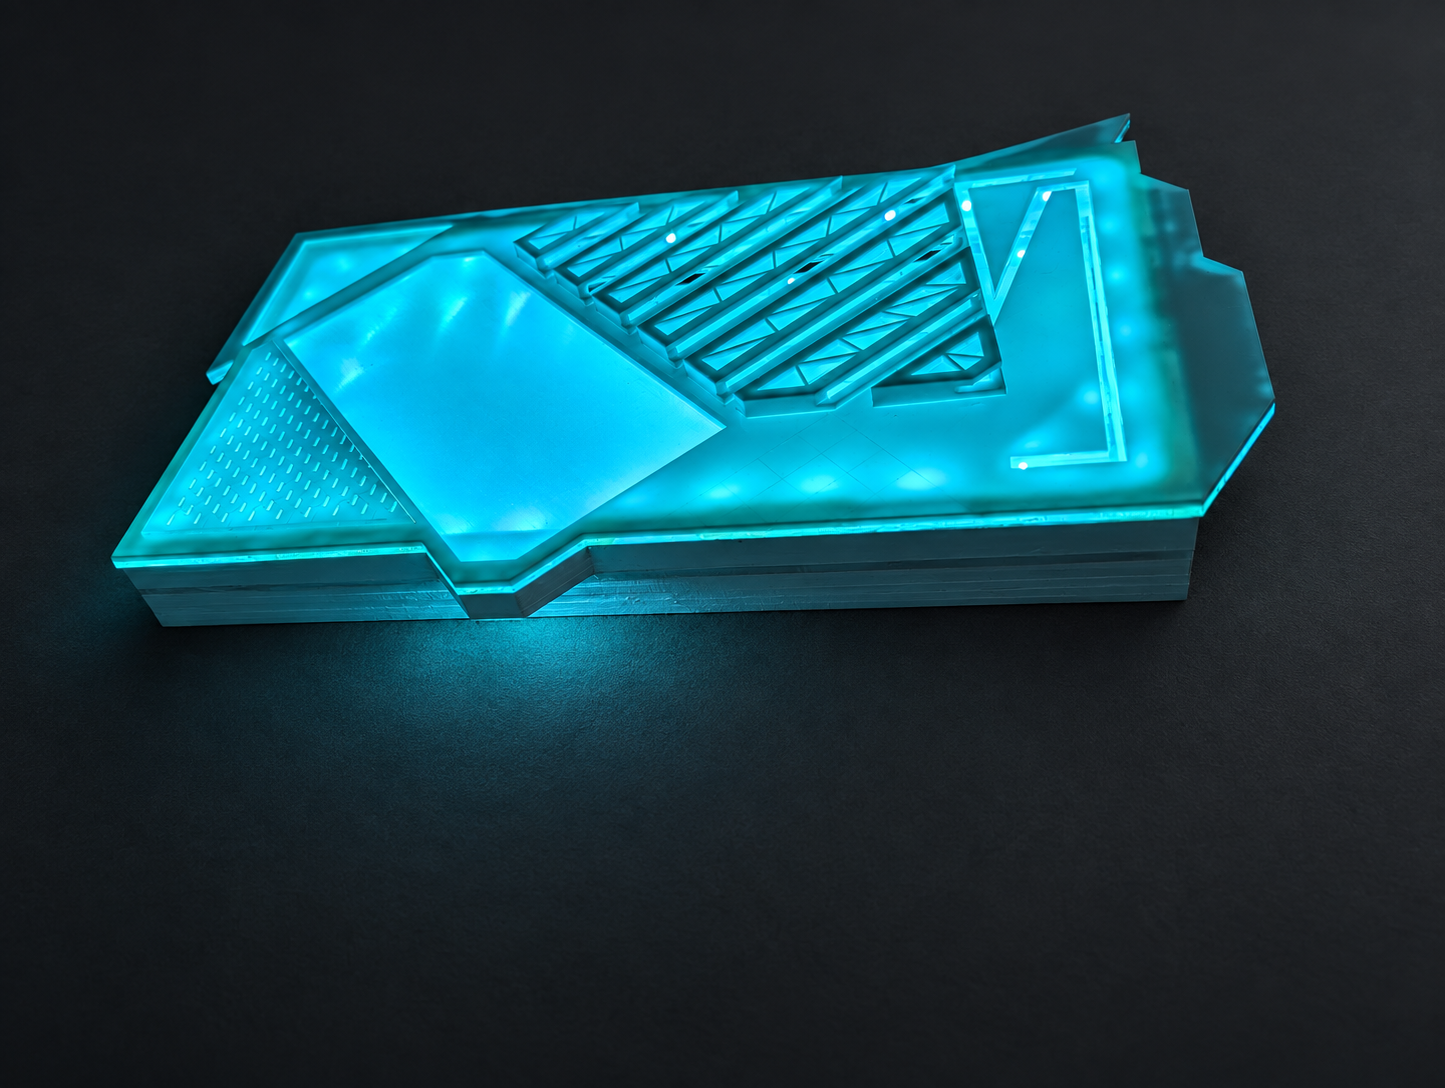
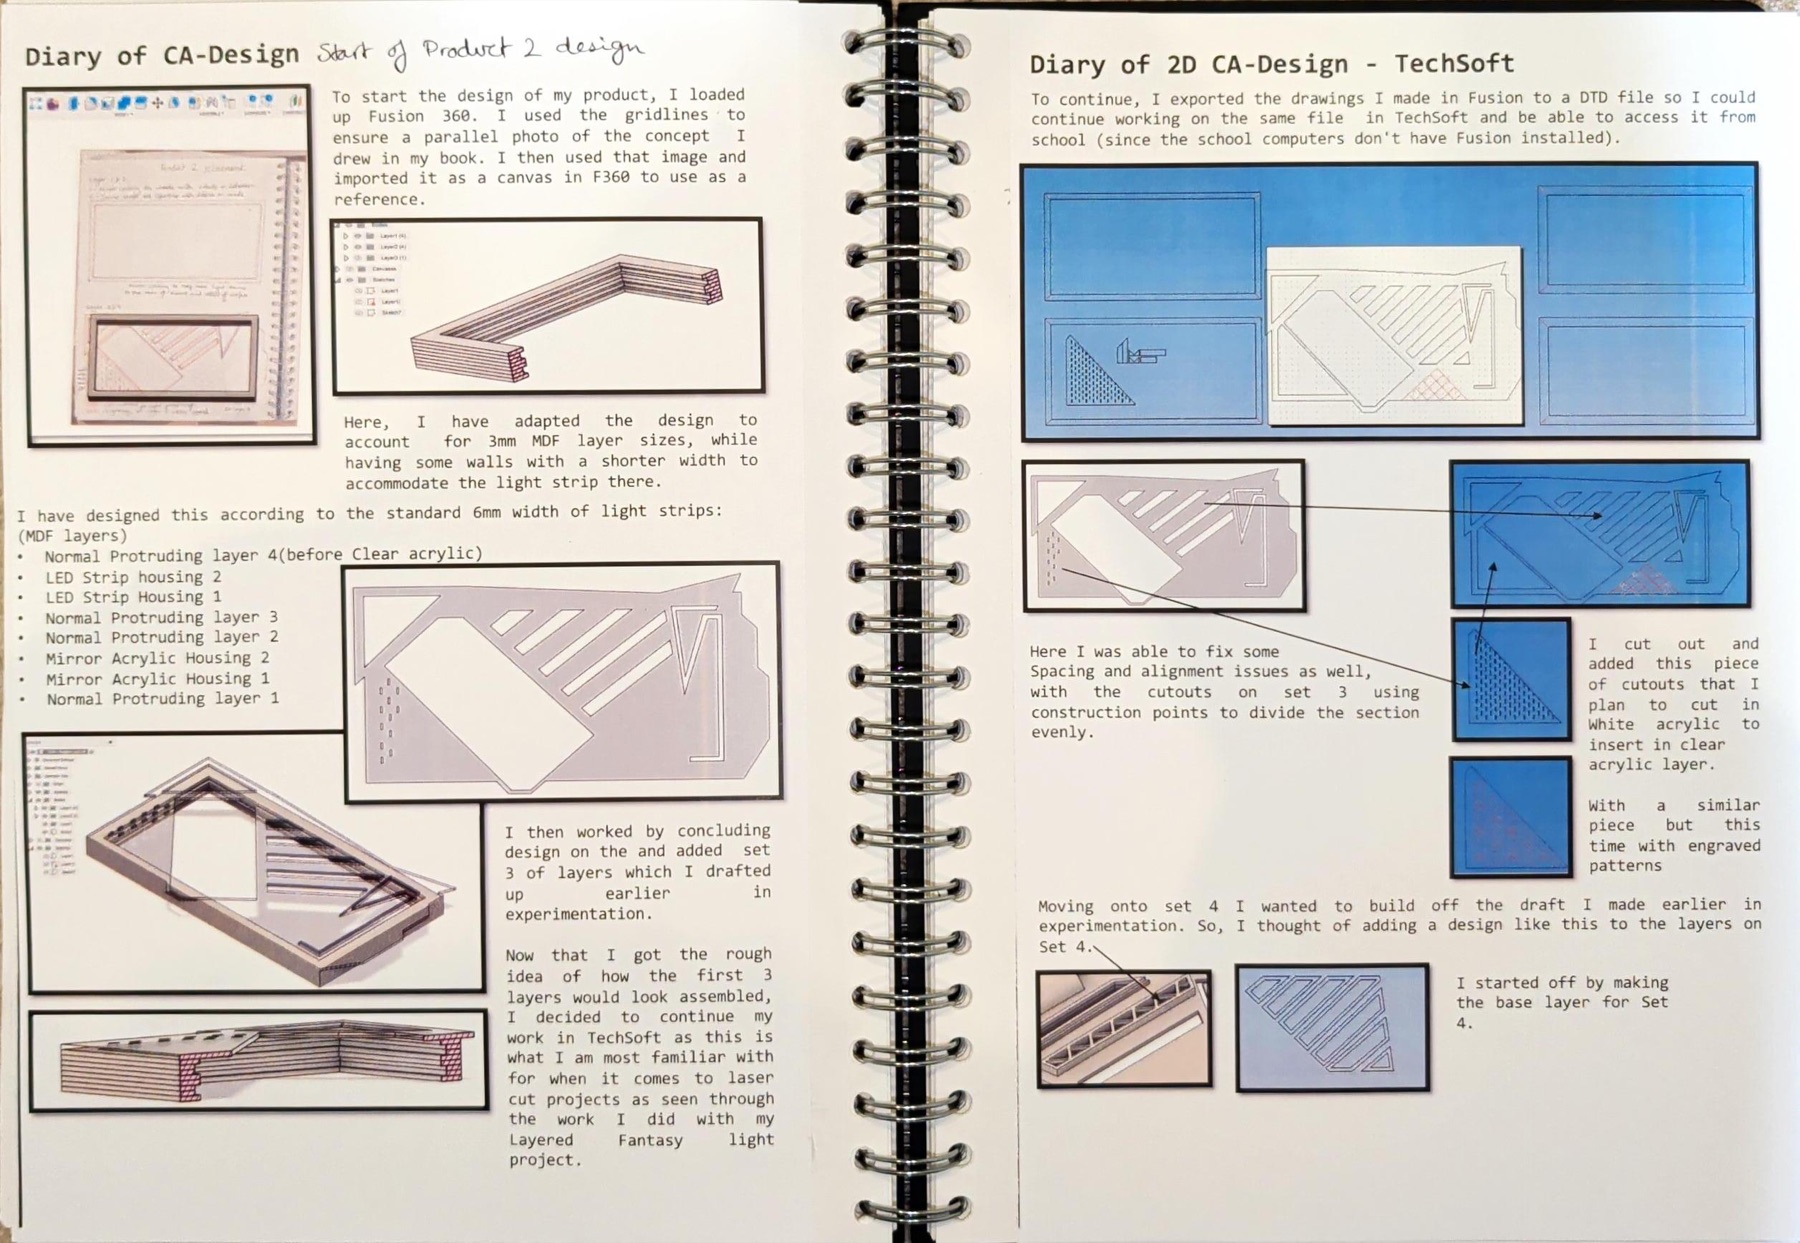
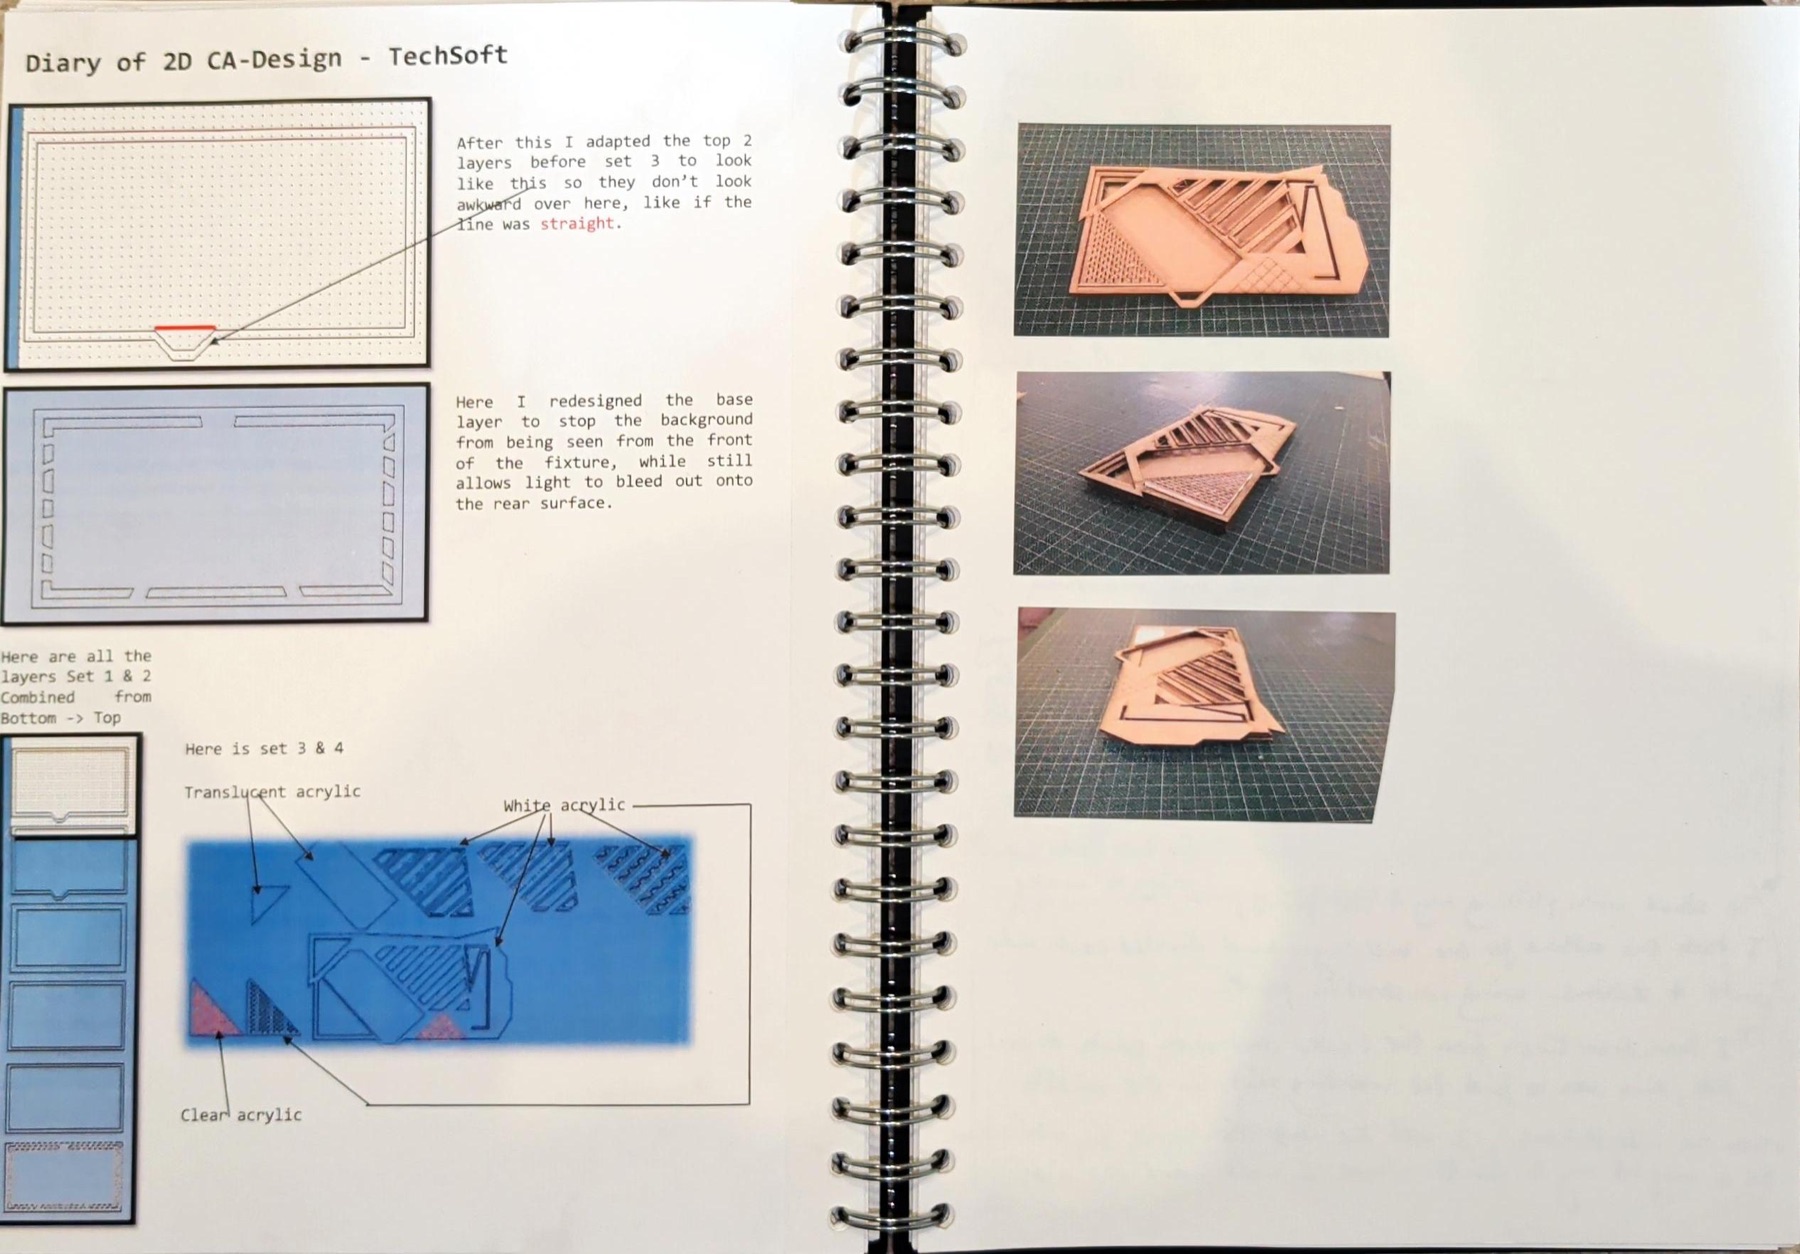
Artist synthesis, customer and retailer mapping, force research and material experiments informed the concept. Fusion 360 established the layered assembly and 6 mm LED-strip clearances; TechSoft and card prototypes then exposed spacing and alignment problems.
- Research distilled into texture, perspective, structure and pattern.
- Fusion 360 for the layered assembly and component clearances.
- Card prototypes used before committing to final materials.
Progression
The work became more testable.
-
01
Draw accurately
Use dimensions and material thickness to make a design manufacturable.
-
02
Build early
Use physical prototypes to expose assembly and visual problems.
-
03
Change the answer
Redesign when cost, printability or alignment shows that the first version is weak.
Next
More engineering work.
See the interactive CAD models, 3D-printing timeline and production-tooling work on the main engineering page.